Skip to:
;Resize=(240,200))
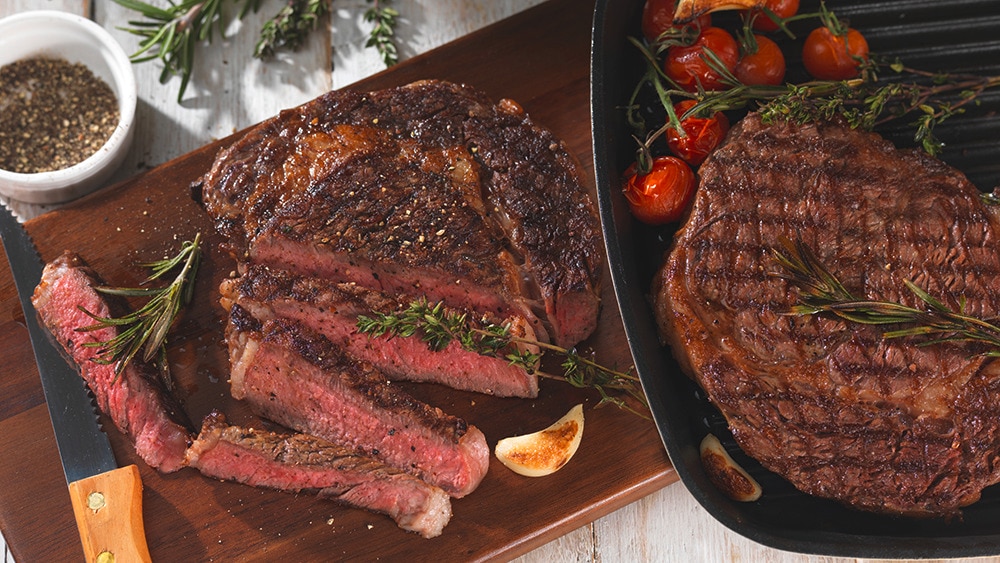
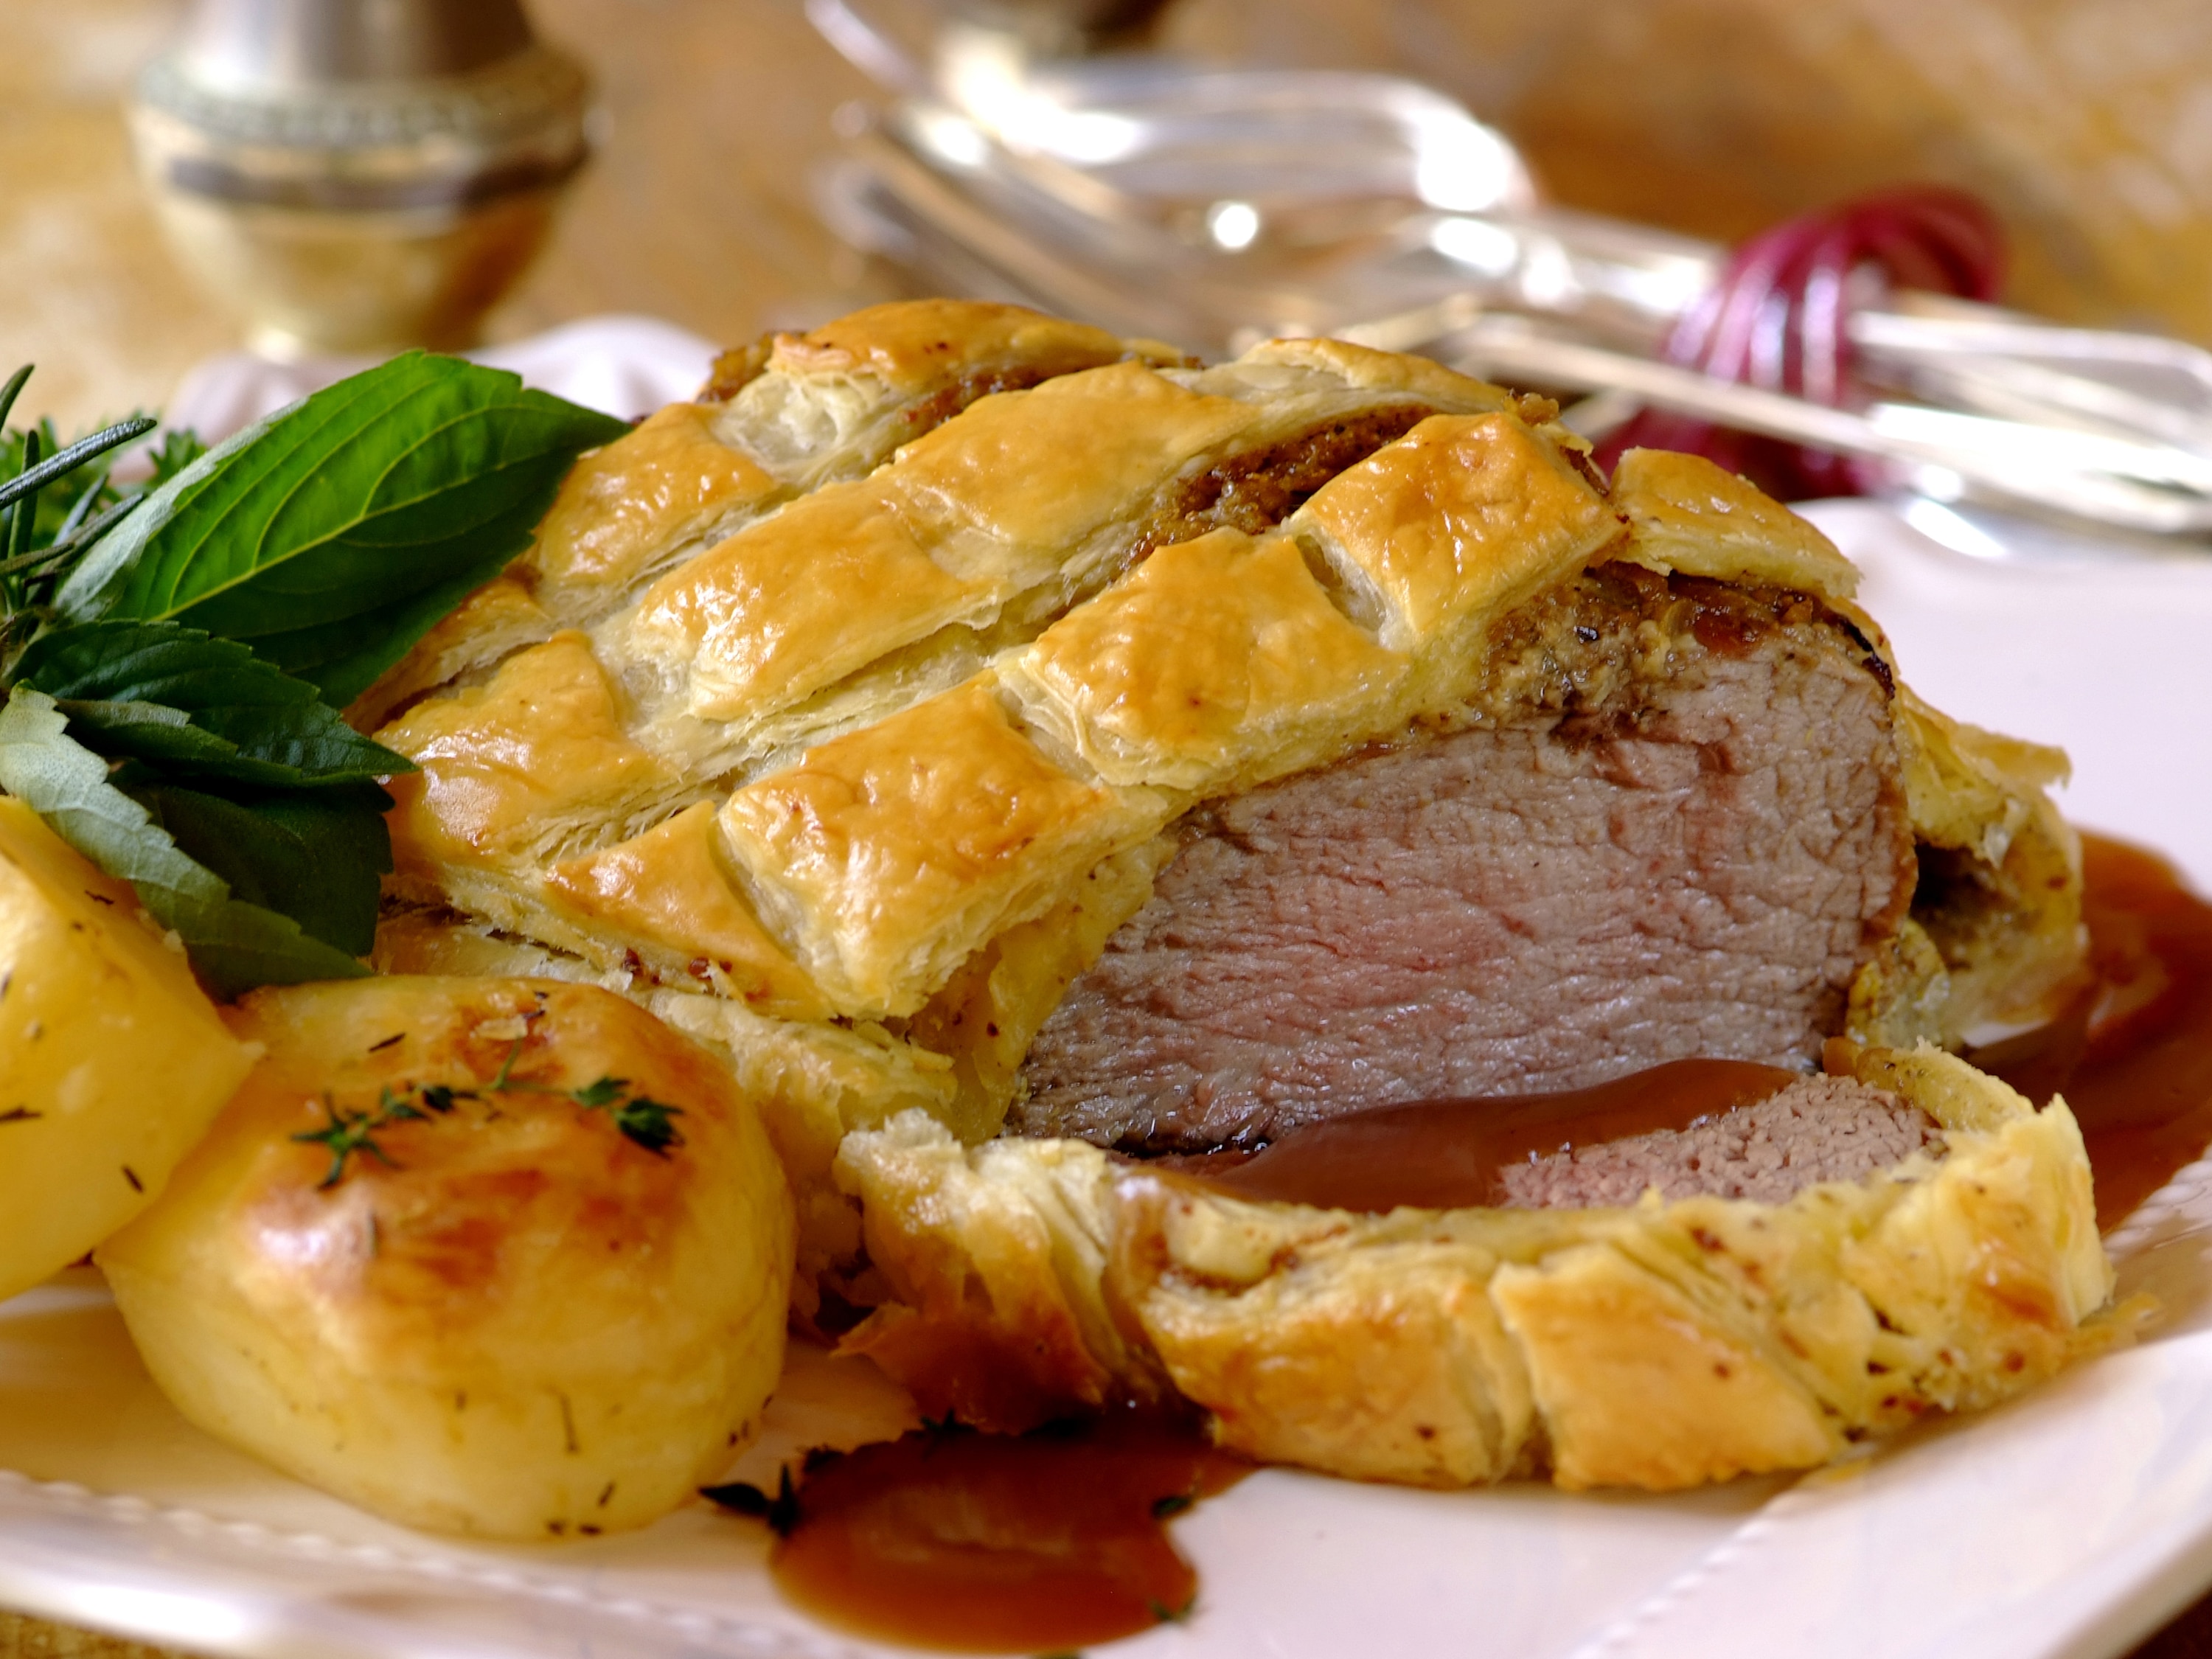
Discover the culinary secret to transforming tougher cuts of meat into incredibly tender and flavorful dishes. Browning meat before braising is a crucial step that not only enhances the visual appeal of your meal but also unlocks a depth of savory flavor through caramelization. This guide will walk you through the essential techniques, ensuring your braised beef, lamb, or pork is always succulent and rich. Master this simple yet impactful technique to elevate your home cooking and impress your family and friends with every delicious bite.
Key Takeaways for Perfect Braising
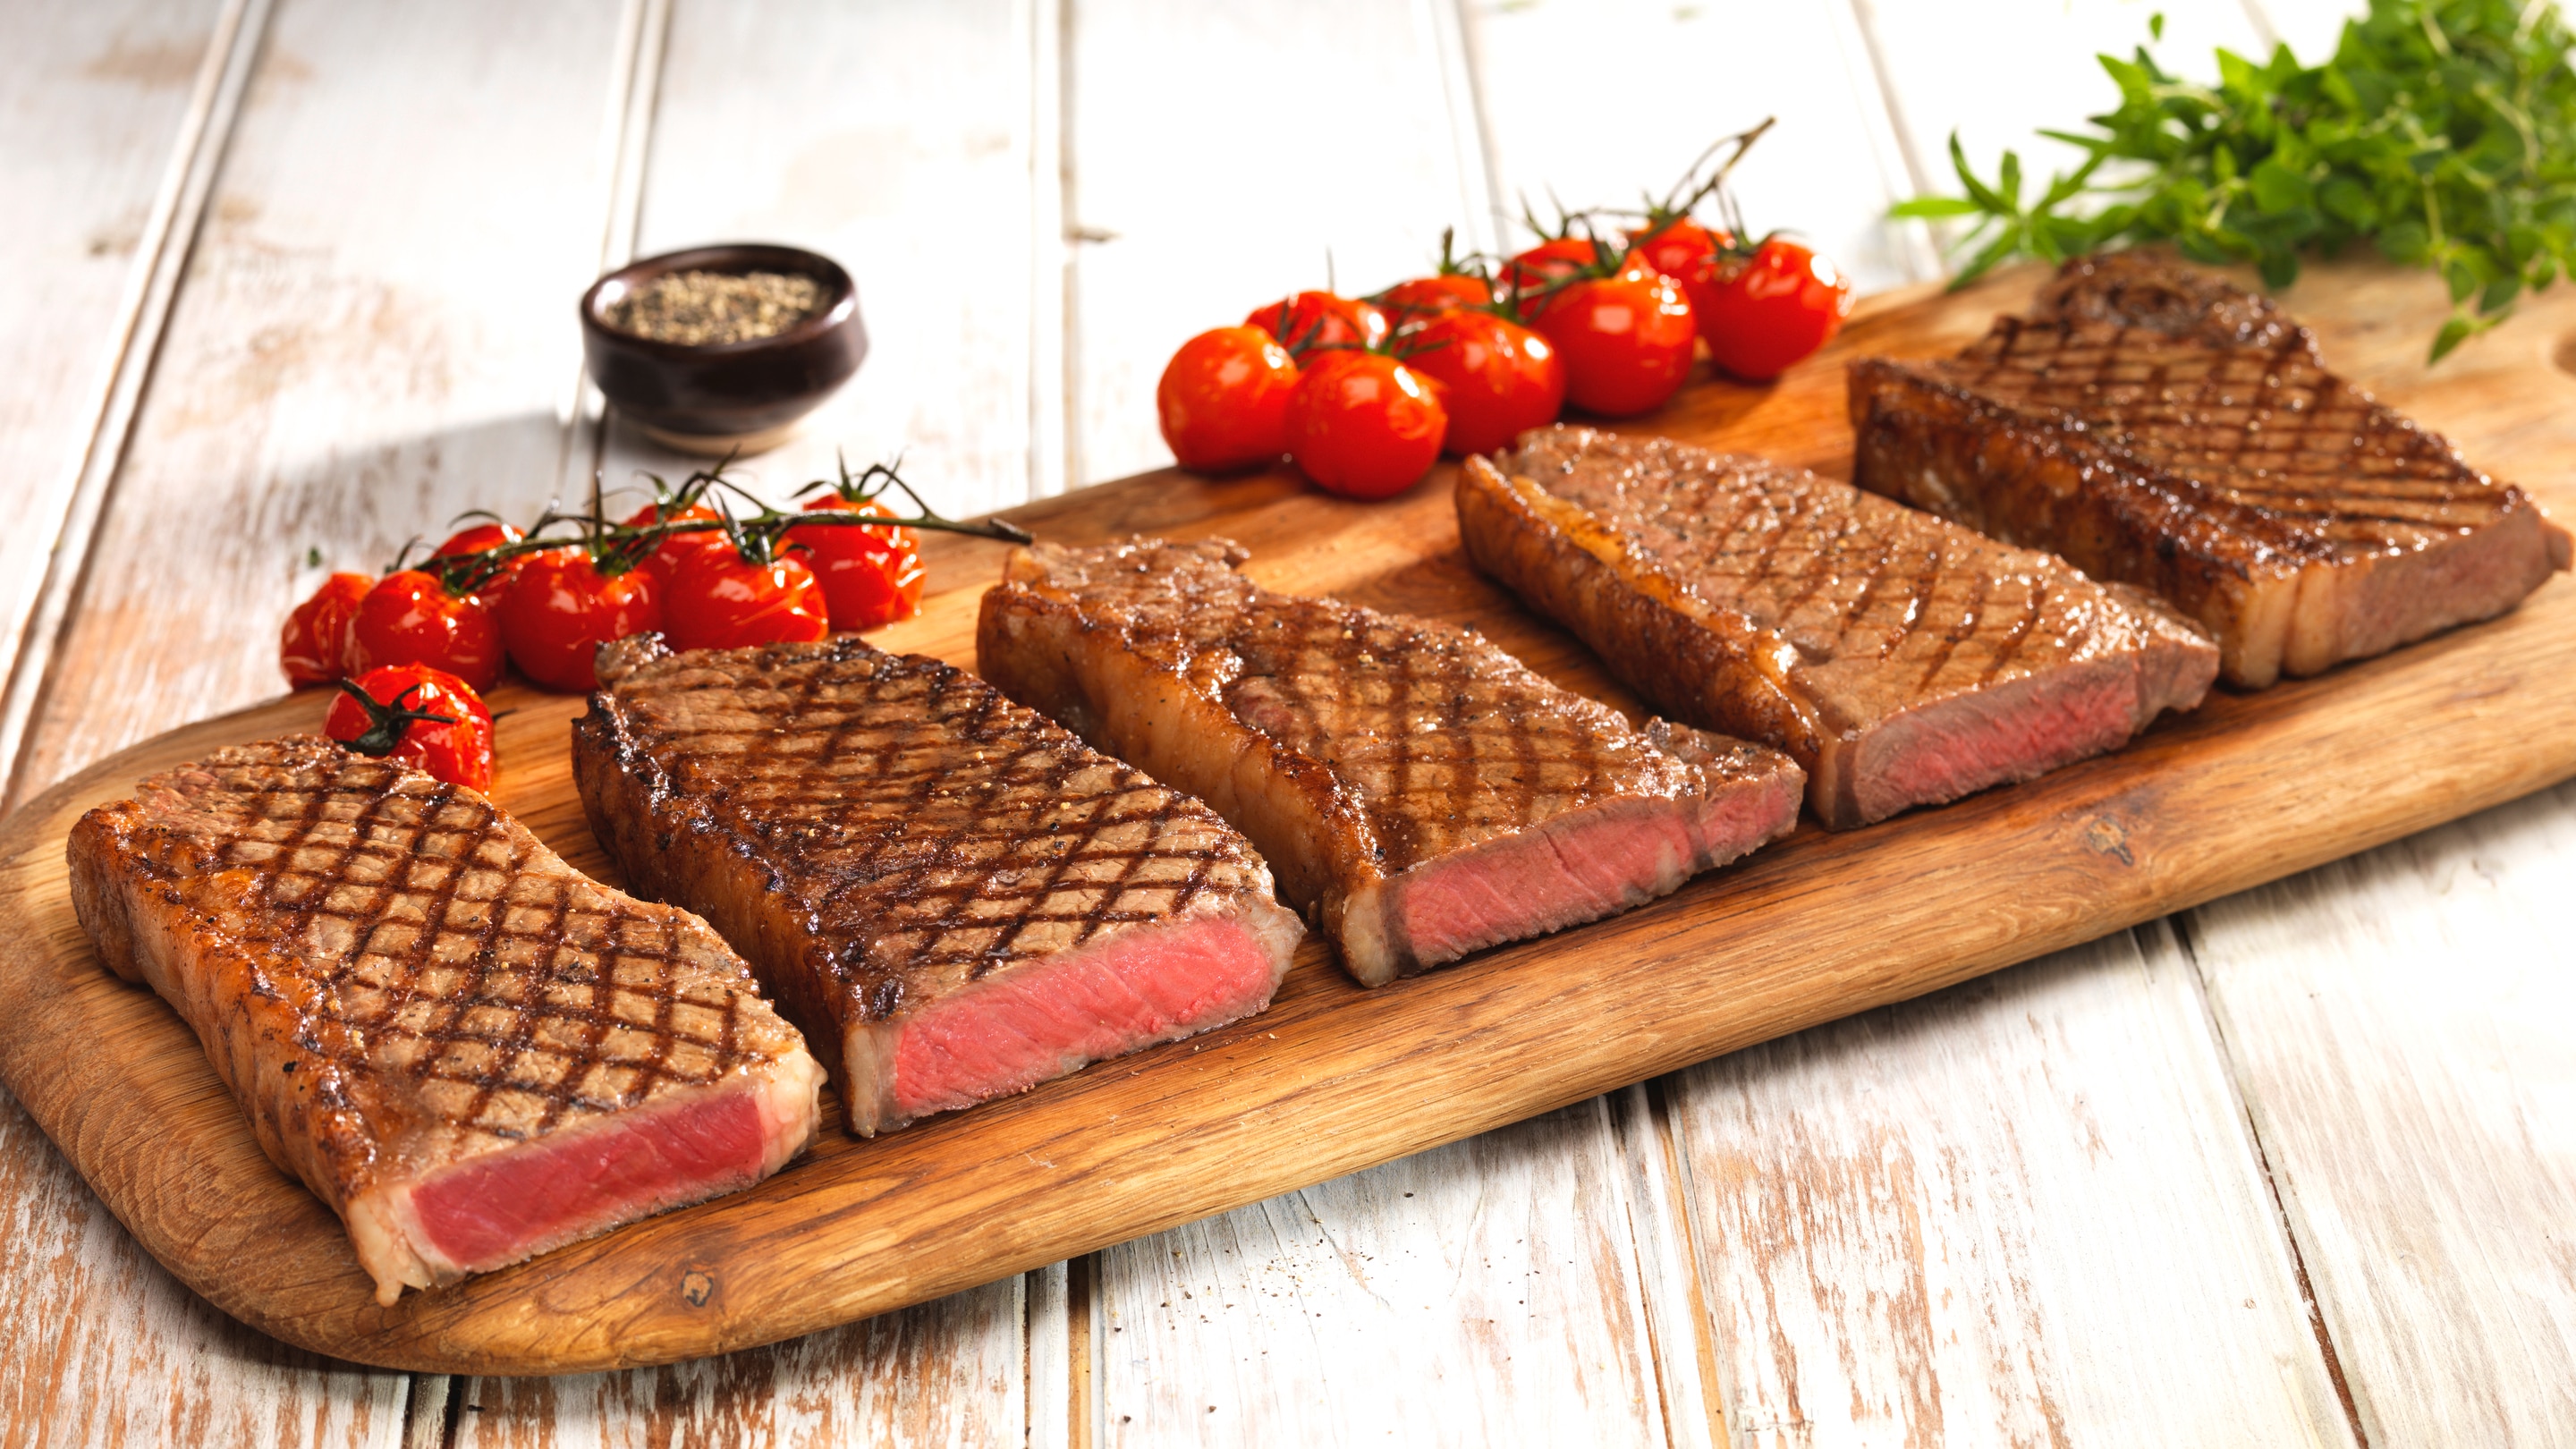
- Browning is essential: Searing meat before braising creates a rich, caramelized crust that significantly enhances flavor and visual appeal.
- Temperature matters: Ensure your pan is scorching hot and meat is at room temperature for optimal browning.
- Don't overcrowd: Brown meat in batches to maintain pan temperature and achieve a proper sear, preventing steaming.
- Oil is crucial: Use enough oil to coat the pan, promoting even browning and preventing burning.
- Deglaze for depth: Scrape up browned bits from the pan with Knorr stock or wine to capture concentrated flavor for your braising liquid.
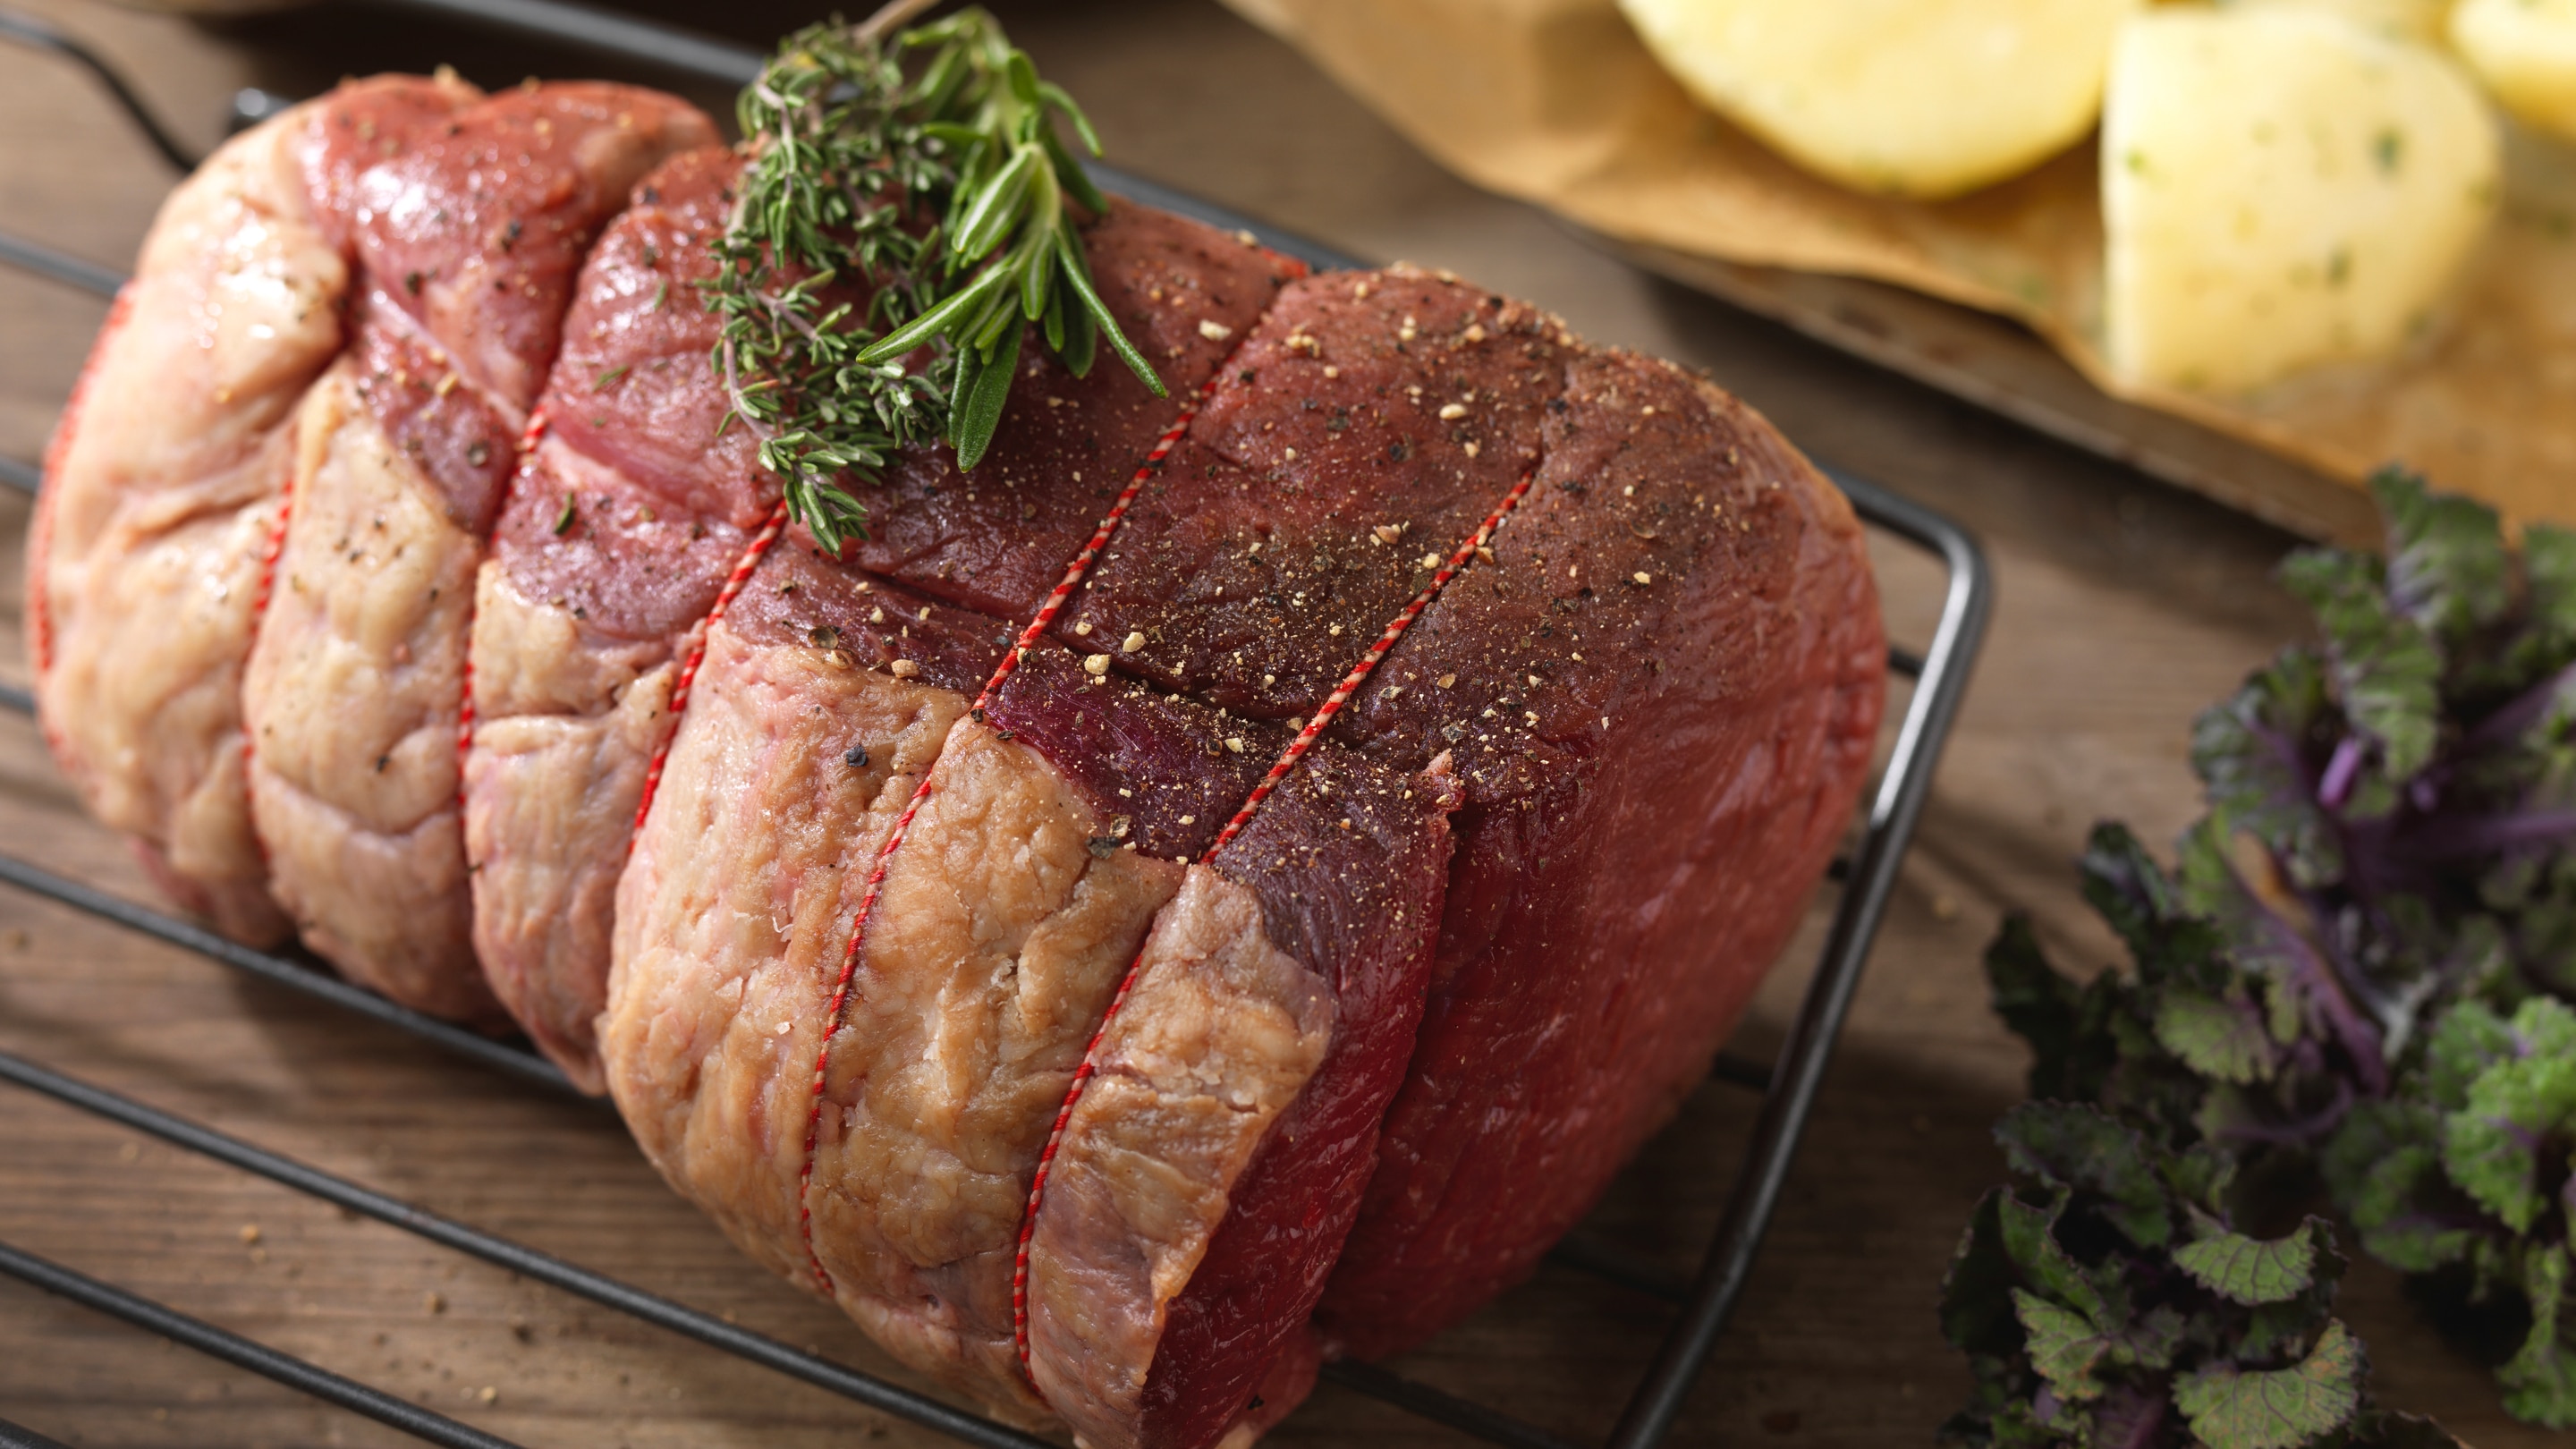
- Choose the right cuts: Braising is ideal for tougher, budget-friendly cuts with connective tissue, which become meltingly tender.
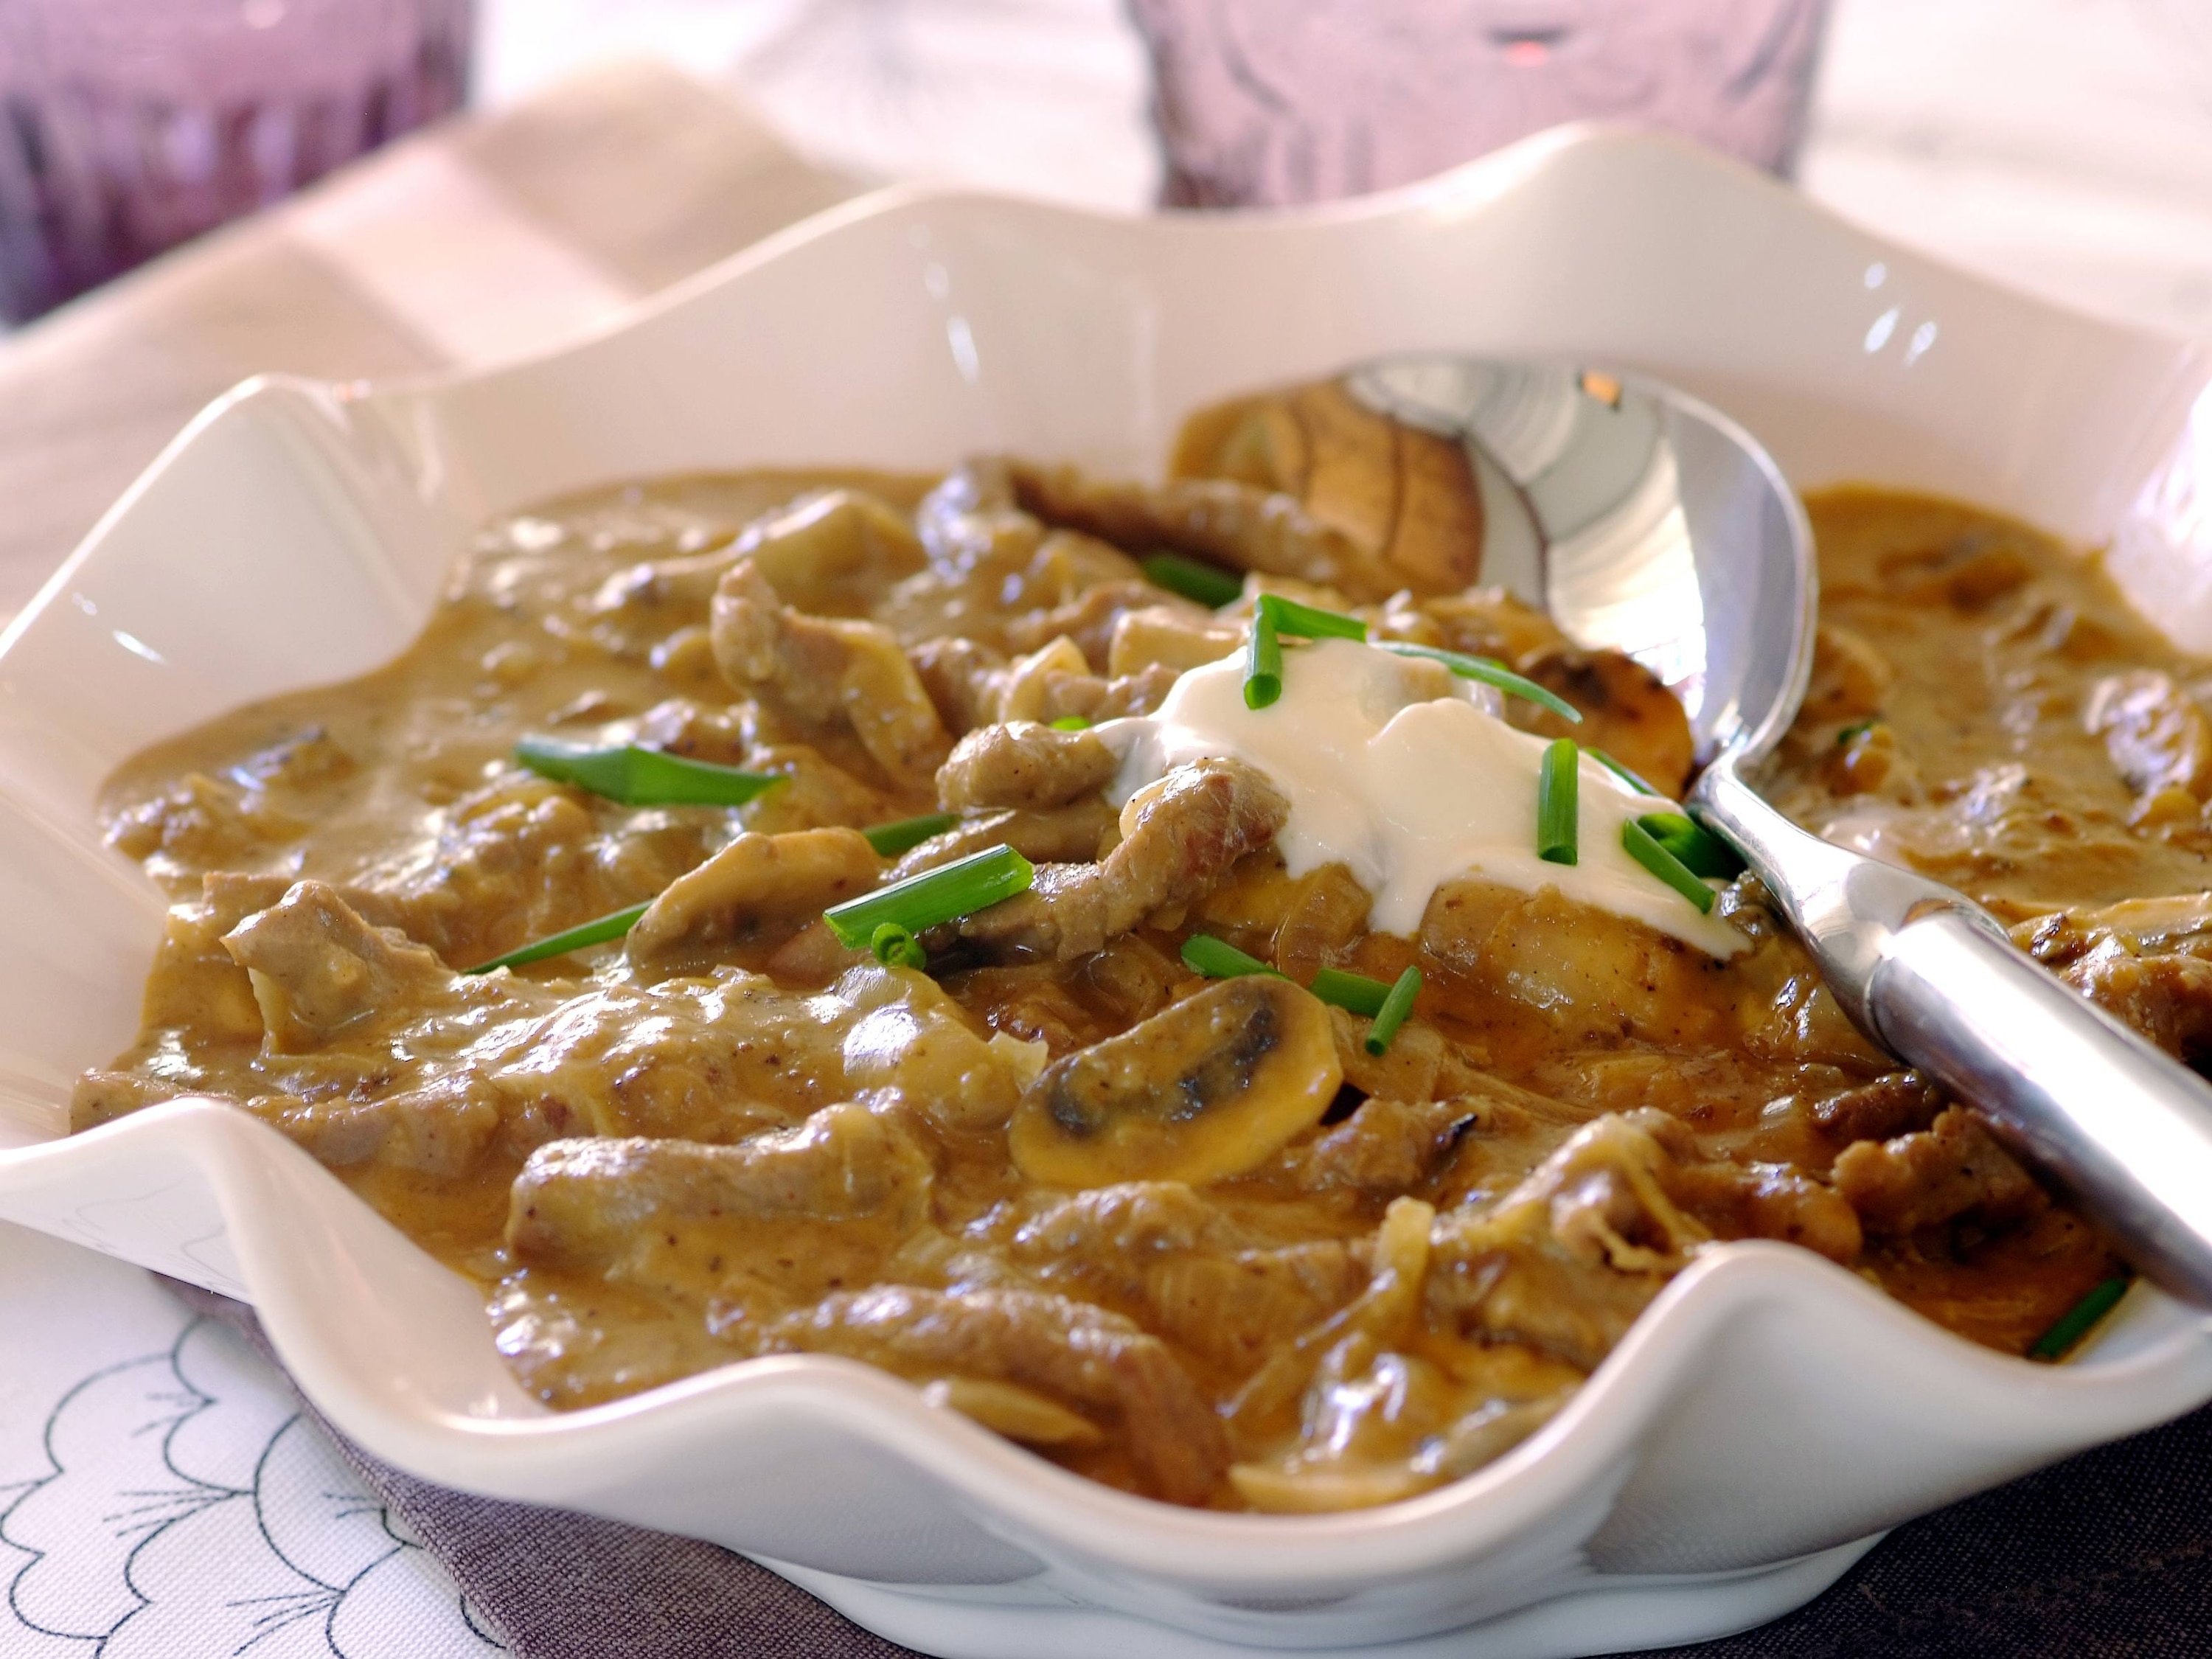
Tougher cuts of meat, often the most budget-friendly, transform into meltingly tender delights when braised for several hours. This slow cooking method works by gently dissolving connective tissues, enriching both the meat's texture and the braising liquid with deep, savory flavors. While braising is ideal for these economical cuts, browning the meat beforehand is a culinary secret weapon. It not only makes your finished dish look more appealing with a beautiful, golden-brown crust but also significantly boosts the overall flavor profile, adding an irreplaceable depth and complexity that elevates any braised meal.
Remember, braising is particularly effective for cuts with good amounts of connective tissue and fat, as these elements break down during the slow cooking process to create incredible richness and tenderness. Leaner cuts, which lack this connective tissue, are generally not the best choice for braising, as they can become dry rather than succulent.
Mastering the Art of Browning Meat for Braising
Elevate Your Braising with Knorr
Mastering the art of browning meat before braising is a game-changer for any home cook. By following these simple yet effective techniques, you can transform humble cuts into extraordinary, tender, and deeply flavorful dishes. The rich, caramelized crust and the concentrated flavors from deglazing will ensure your braises are always a culinary triumph. Experiment with different cuts and Knorr stocks to discover new depths of flavor and make every meal a memorable one.
Frequently Asked Questions About Browning Meat
Browning meat before braising is crucial because it initiates the Maillard reaction, a chemical process that creates hundreds of new flavor compounds and a rich, appealing crust. This caramelization adds significant depth, complexity, and visual appeal to your final dish, making it far more flavorful than unbrowned meat.
If you skip browning, your braised dish will lack the deep, complex flavors and rich color that come from the Maillard reaction. The meat may appear grey and the overall flavor profile will be less robust and savory. While still tender, it won't have the same depth of taste.
To ensure proper browning, always use a large, heavy-bottomed pan heated to a high temperature until the oil shimmers. Crucially, avoid overcrowding the pan. Brown meat in small batches, allowing enough space between pieces for the heat to circulate and the surface to sear, rather than steam.
It's generally recommended to salt your meat *after* browning. Salting meat too early can draw moisture to the surface, making it difficult to achieve a good sear and promoting steaming instead of browning. Season generously once the meat has developed a beautiful crust.
Deglazing is the process of adding liquid (like Knorr stock, wine, or water) to a hot pan after browning meat, then scraping up all the caramelized bits stuck to the bottom. These 'fond' bits are packed with concentrated flavor, and deglazing incorporates them into your braising liquid, significantly enhancing the overall taste of your dish.
Explore More Knorr Cooking Inspiration & Tips
Dive deeper into the world of delicious cooking with more expert tips and tricks from Knorr. Enhance your culinary skills and discover new ways to create amazing meals.
Delicious Knorr Recipes Featuring Perfectly Braised Meats
27 Results
-
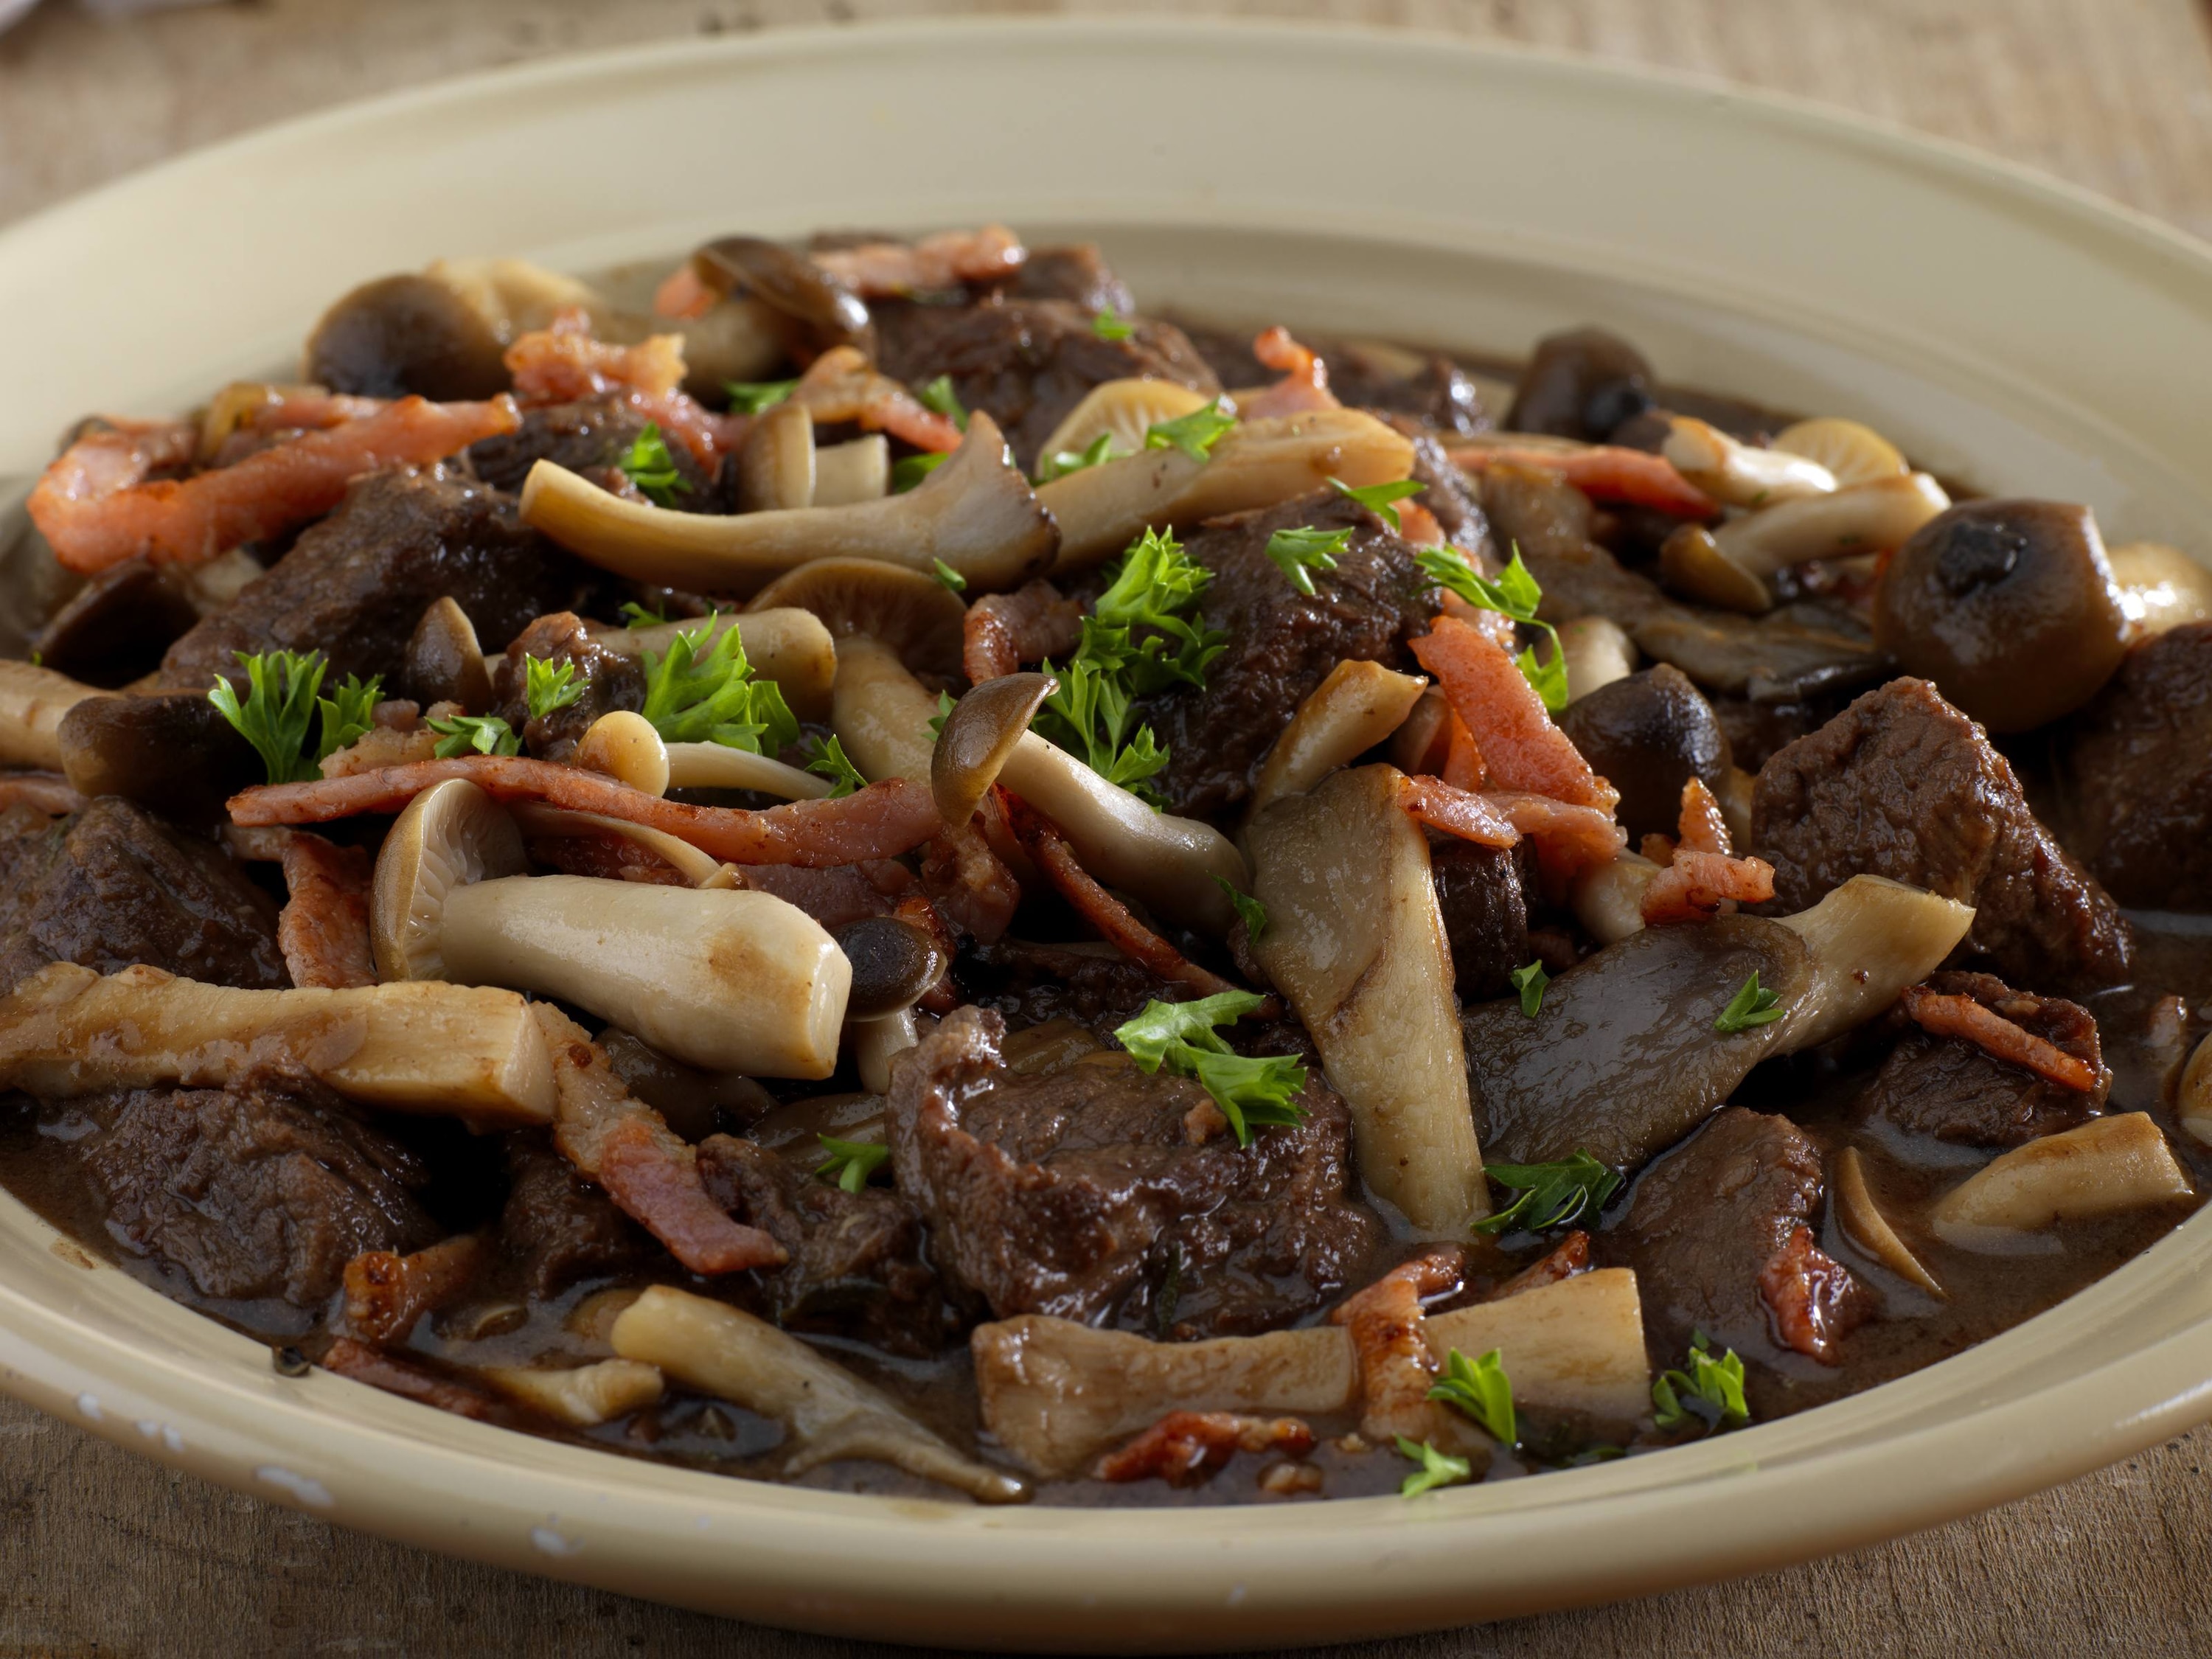
Beef Bourguignon with Mushrooms
-
CookingTime3 H 25 MINS
-
Difficulty Easy
-
PreparationTime40 MINS
-
Servings 6
people
-