Skip to:
;Resize=(240,200))
Key Takeaways for Mastering Knife Skills
- Choose the Right Knife: Select the appropriate knife for each task, from a versatile chef's knife for general use to a precise paring knife for delicate work.
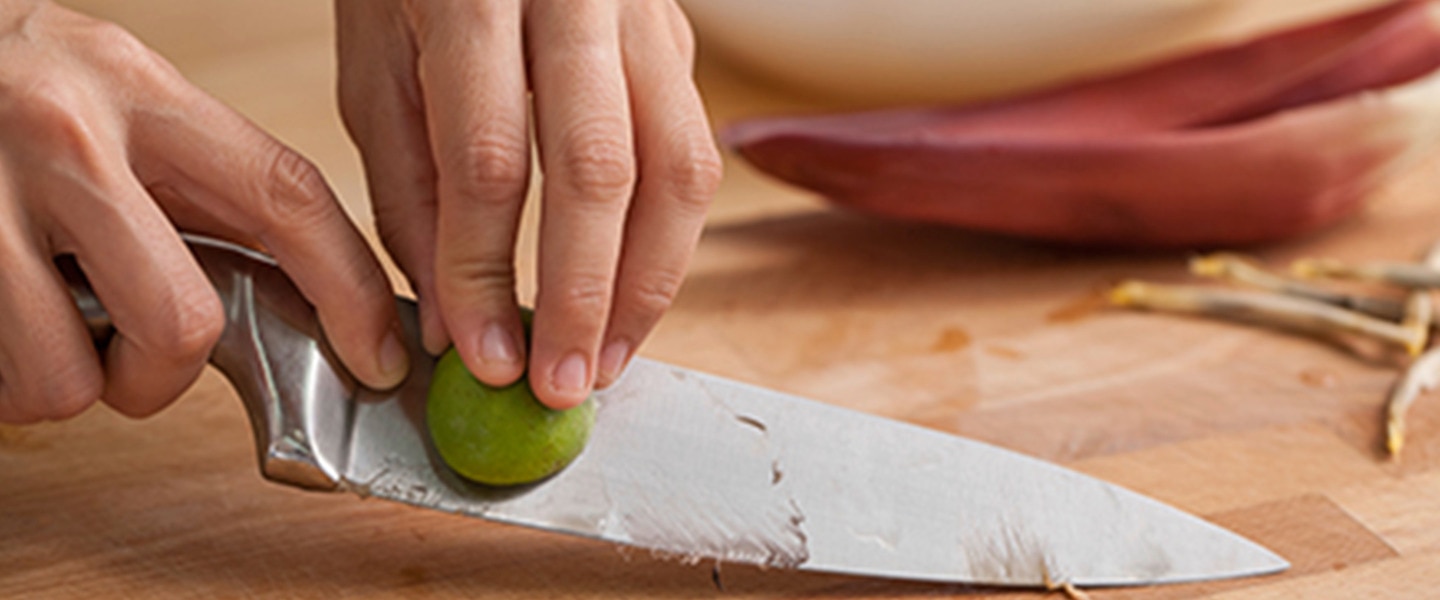
- Prioritize Safety: Always use proper grip techniques like the 'pinch grip' and the 'claw hand' to protect your fingers and maintain control.
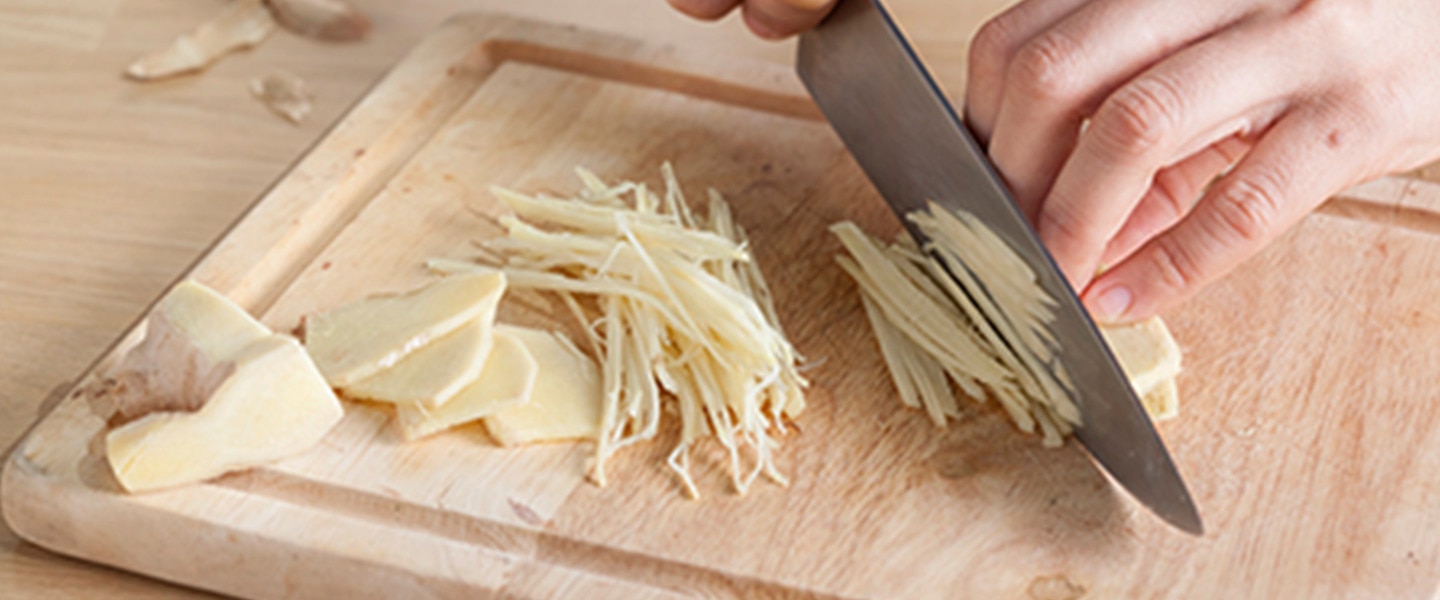
- Master Core Techniques: Practice chopping for irregular pieces, dicing for uniform cubes, and slicing for thin, even cuts to enhance your culinary precision.
- Maintain Your Blades: Regular honing and sharpening are crucial for keeping your knives effective and safe, preventing accidents caused by dull blades.
- Proper Care and Storage: Hand wash and thoroughly dry your knives immediately after use, and store them safely in a block or on a magnetic strip to preserve their longevity and sharpness.
Blade Basics: Choosing the Perfect Knife for Every Kitchen Task
Mastering essential knife skills is a cornerstone of becoming a confident cook. Your journey to culinary excellence begins even before you reach the cutting board. This handy guide will demystify the world of kitchen knives, helping you distinguish between a versatile chef's knife, a precise paring knife, and the nimble Santoku knife in no time.
The Chef's Knife: Your Kitchen's Versatile Workhorse
The chef's knife, often called the cook's knife, is the undisputed champion of the kitchen. Featuring a broad, sharp blade typically between 6 to 10 inches long, it excels at a multitude of tasks, from robust chopping and precise dicing to effortless slicing. Its carefully considered weight and balance offer superior control, cementing its status as the go-to tool for the majority of kitchen preparations. Consider it your culinary jack-of-all-trades.
The Paring Knife: For Precision Tasks and Delicate Detail
For tasks demanding precision and intricate work, the paring knife is your essential tool. Typically measuring around 3 to 4 inches, this compact knife is perfectly suited for detailed jobs like peeling fruits and vegetables, trimming small items, and hulling strawberries. Its narrow blade design grants exceptional control and accuracy, making it indispensable for delicate preparations.
The Serrated Knife: Effortlessly Slice Through Tough Exteriors
The serrated knife, distinguished by its saw-like teeth, is your go-to for cutting through items that challenge a smooth blade. It excels at slicing through crusty bread, delicate pastries, and foods with a tough exterior yet soft interior, such as ripe tomatoes and juicy citrus fruits. Its unique edge grips and slices without crushing, ensuring clean cuts every time.
The Santoku Knife: Japanese Precision for Versatile Cutting
The Santoku knife, a popular Japanese all-purpose knife, is celebrated for its sharpness and agility. Its blade is typically shorter and wider than that of a chef's knife, featuring a straighter edge. This design makes it exceptionally well-suited for precision chopping, dicing, and slicing, particularly when working with vegetables and boneless proteins, offering a unique cutting experience.
The Utility Knife: Your Go-To for Mid-Sized Tasks
The utility knife strikes a perfect balance, fitting neatly between the chef's knife and the paring knife in both size and function. It's an incredibly versatile choice for tasks that demand more precision than a chef's knife can offer, yet are too substantial for a paring knife. Ideal for slicing sandwiches, cutting cheese, or preparing smaller fruits and vegetables, the utility knife bridges the gap effectively.
The Boning Knife: Expertly Separating Meat and Fish
When it comes to separating meat from the bone or filleting fish, the boning knife is your indispensable ally. Available with both flexible and stiff blades, it's designed to adapt to various cutting requirements. Whether you're deboning poultry, expertly filleting fish, or trimming excess fat from meat, this specialized knife ensures clean and efficient results.
The Cleaver: Your Heavy-Duty Tool for Tough Ingredients
Meet the heavyweight champion of knives: the cleaver. Renowned for its robust, broad blade, the cleaver is engineered for tackling the toughest jobs. It excels at chopping through bones and dense ingredients, making it indispensable for butchering and processing large cuts of meat. Beyond its primary function, it's also surprisingly useful for tasks like smashing garlic and ginger.
Master Essential Knife Skills: Techniques for Safe and Efficient Cooking
Elevate Your Culinary Journey with Confidence
Mastering essential knife skills is a transformative step in your cooking journey. By understanding different knife types, practicing safe handling techniques like the claw grip, and diligently maintaining your blades, you empower yourself to prepare ingredients with precision and confidence. Embrace these fundamental culinary techniques to enhance your efficiency and enjoyment in the kitchen, making every meal preparation a rewarding experience.
Frequently Asked Questions About Knife Skills
For beginners, mastering the basic chef's grip, the 'claw hand' technique for finger safety, and fundamental cutting motions like chopping, dicing, and slicing are crucial. These core knife skills build a strong foundation for more advanced culinary techniques.
Proper knife handling is paramount for kitchen safety to prevent accidents and injuries. A secure grip and correct hand positioning, such as the 'claw hand', ensure that your fingers are protected from the blade, allowing for precise and controlled cutting.
While honing (realigning the blade's edge) should be done frequently, ideally before each use, actual sharpening (removing metal to create a new edge) depends on usage. For home cooks, sharpening every few months or when you notice the knife struggling to cut cleanly is a good general guideline.
Chopping involves cutting ingredients into smaller, often irregular pieces. Dicing creates uniform, cube-shaped pieces, essential for even cooking. Slicing refers to cutting ingredients into thin, even pieces, commonly used for meats, fruits, and vegetables.
It is not recommended to put kitchen knives in the dishwasher. The harsh detergents and high heat can dull the blade, damage the handle, and lead to rust or corrosion. Always hand wash your knives with mild soap and warm water, then dry them immediately.
A chef's knife is a versatile kitchen workhorse, primarily used for a wide range of tasks including chopping, dicing, mincing, and slicing. Its broad, sharp blade and balanced design make it suitable for most general food preparation needs.
Explore More Culinary Tips and Tricks
Dive deeper into our collection of articles to enhance your kitchen expertise and discover new ways to elevate your cooking.
A Little Culinary Inspiration for Your New Skills
7 Results
-

Rich and Cheesy Salami Pizza
-
CookingTime20 MINS
-
Difficulty Easy
-
PreparationTime10 MINS
-
Servings 4
people
-